8. Jupyter Notebooks
Open OnDemand is a tool that allows users to launch Graphical User Interfaces (GUIs) based applications are accessible without modifying your HPC environment. OOD allows users to launch Jupyter Lab sessions from https://ood.hpc.nyu.edu.
Important
Please setup conda before proceeding further. For more info One Time Setup.
8.1. One time Setup
Logon into HPC via a terminal.
Create a directory for the environment
mkdir /scratch/$USER/singularity
cd /scratch/$USER/singularity
Prepare Overlay, for 400K files andupto 10GB of storage space.
cp -rp /scratch/work/public/overlay-fs-ext3/overlay-10GB-400K.ext3.gz .
gunzip overlay-10GB-400K.ext3.gz
mv overlay-10GB-400K.ext3 partition.ext3
Note
You can browse available overlay images to see available options:
ls /scratch/work/public/overlay-fs-ext3Launch Singularity environment for installation
singularity exec --overlay /scratch/$USER/singularity/partition.ext3:rw /scratch/work/public/singularity/cuda11.6.124-cudnn8.4.0.27-devel-ubuntu20.04.4.sif /bin/bash
Note
You can browse available OS images to see available options:
ls /scratch/work/public/singularity/Important
Be sure that you have the Singularity prompt (Singularity>) before the next step.
Install Miniconda to overlay file
wget https://repo.continuum.io/miniconda/Miniconda3-latest-Linux-x86_64.sh
sh Miniconda3-latest-Linux-x86_64.sh -b -p /ext3/miniconda3
Remove downloded package
rm Miniconda3-latest-Linux-x86_64.shCreate an invoking wrapper script
touch /ext3/env.sh
echo '#!/bin/bash' >> /ext3/env.sh
echo 'source /ext3/miniconda3/etc/profile.d/conda.sh' >> /ext3/env.sh
echo 'export PATH=/ext3/miniconda3/bin:$PATH'         >> /ext3/env.sh
echo 'export PYTHONPATH=/ext3/miniconda3/bin:$PATH'   >> /ext3/env.sh
Source Anaconda
source /ext3/env.sh
Confirm Installation
Check conda locationwhich condaExpected Output:
/ext3/miniconda3/bin/conda
Check python location
which pythonExpected Output:
/ext3/miniconda3/bin/python
Update, clean base conda environment and install necessary packages
conda update -n base conda -y
conda clean --all -y
conda install pip -y
conda install ipykernel -y
Important
ipykernelis required to run Open OnDemand Jupyter Notebooks, please install this package to your environment if haven’t already.Exit Singularity image
exit
8.2. Add Jupyter Kernel
You need to add one kernel per environment that you want to use with Jupyter Notebook.
Load anaconda module
module purge
module load anaconda3/2020.07
eval "$(conda shell.bash hook)"
Create a conda environment outside of Singularity (Skip this step if you have already an environment other than base)
conda create -n <env_name> python=3.8
Install required packages to your environment
conda activate <env_name>
conda install ipykernel ipywidgets -y
Configure iPython kernels
mkdir -p ~/.local/share/jupyter/kernels
cd ~/.local/share/jupyter/kernels
cp -R /share/apps/mypy/src/kernel_template ./<env_name>
cd ./<env_name>
Edit
kernel.jsonnano kernel.jsonEdit the file so that it should look like:
{
    "argv":[
            "/home/<Your NetID>/.local/share/jupyter/kernels/<env_name>/python",
            "-m",
            "ipykernel_launcher",
            "-f",
            "{connection_file}"],
    "display_name": "<kernel_name>",
    "language": "python"
}
Important
Update
<Your NetID>to your own NetID,<env_name>to the name of your conda environment and<kernel_name>to a name for this kernel.For Example:
{
    "argv":[
            "/home/abc123/.local/share/jupyter/kernels/nlp/python",
            "-m",
            "ipykernel_launcher",
            "-f",
            "{connection_file}"],
    "display_name": "NLP Env",
    "language": "python"
}
Save the file by pressing
Ctrl+X, then hitYand hitEnterto confirm.Edit
pythonfilenano pythonEdit the file so that it should look like:
#!/bin/bash

args=''
for i in "$@"; do
i="${i//\\/\\\\}"
args="$args \"${i//\"/\\\"}\""
done

unset XDG_RUNTIME_DIR
if [ "$SLURM_JOBTMP" != "" ]; then
export XDG_RUNTIME_DIR=$SLURM_JOBTMP
fi

if [[ "$(hostname -s)" =~ ^g[r,v] ]]; then nv="--nv"; fi

cmd=$(basename $0)


singularity exec $nv --overlay /scratch/$USER/singularity/partition.ext3:ro \
            /scratch/work/public/singularity/cuda11.6.124-cudnn8.4.0.27-devel-ubuntu20.04.4.sif \
            /bin/bash -c "source /ext3/env.sh;conda activate <env_name>; $cmd $args"
Important
Update
<env_name>to the environment you are doing the setup without the “<>” symbols.Save the file by pressing
Ctrl+X, then hitYand hitEnterto confirm.Caution
If you used a different overlay or sif file, change those lines in the command above to the files you used.
8.3. Launch Jupyter Notebook
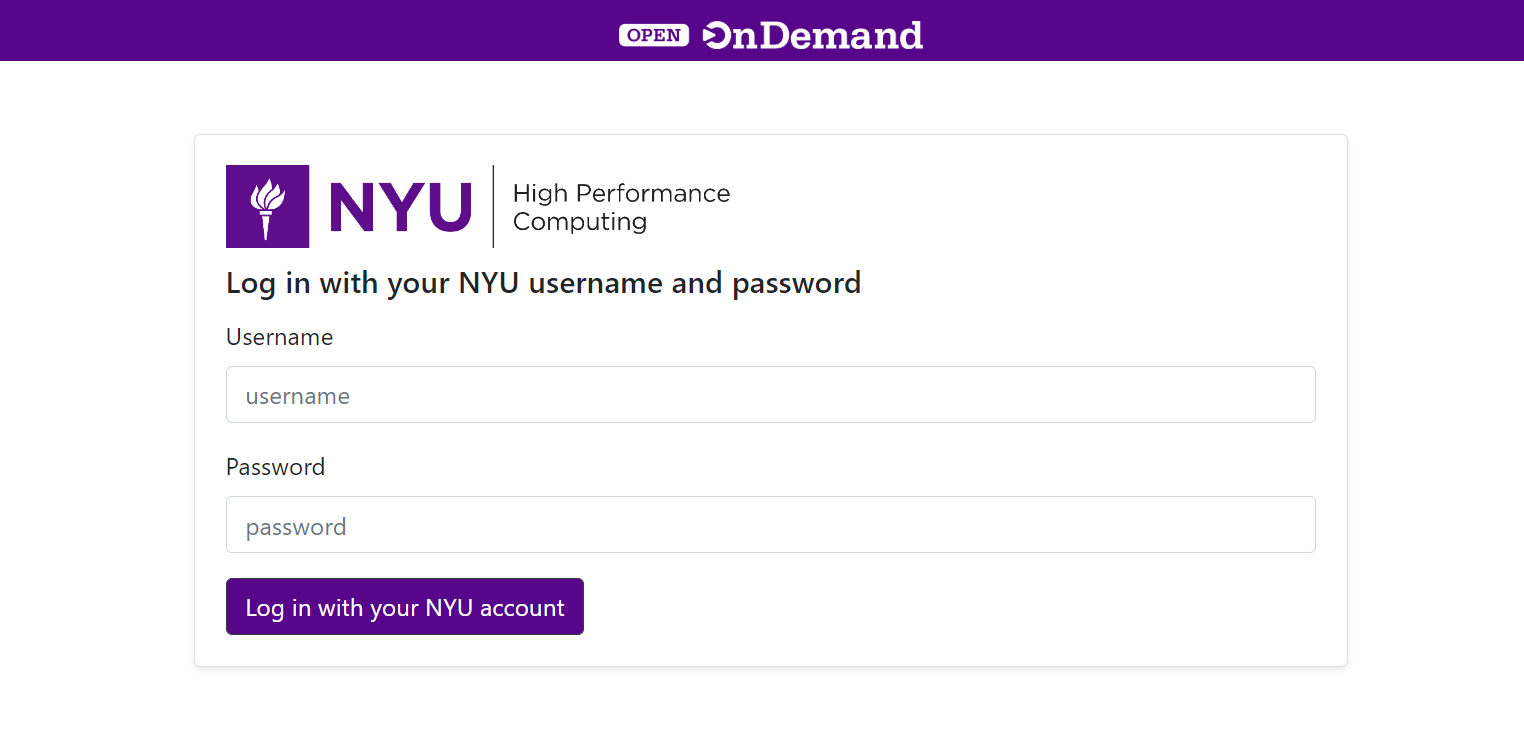
Logon to https://ood.hpc.nyu.edu (VPN Required)
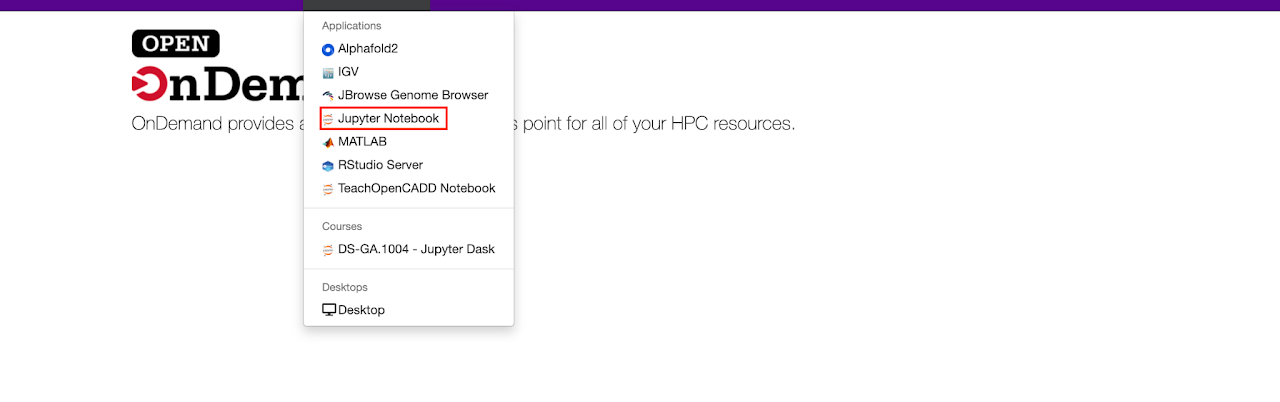
Launch Jupyter Notebook under Interactive Apps
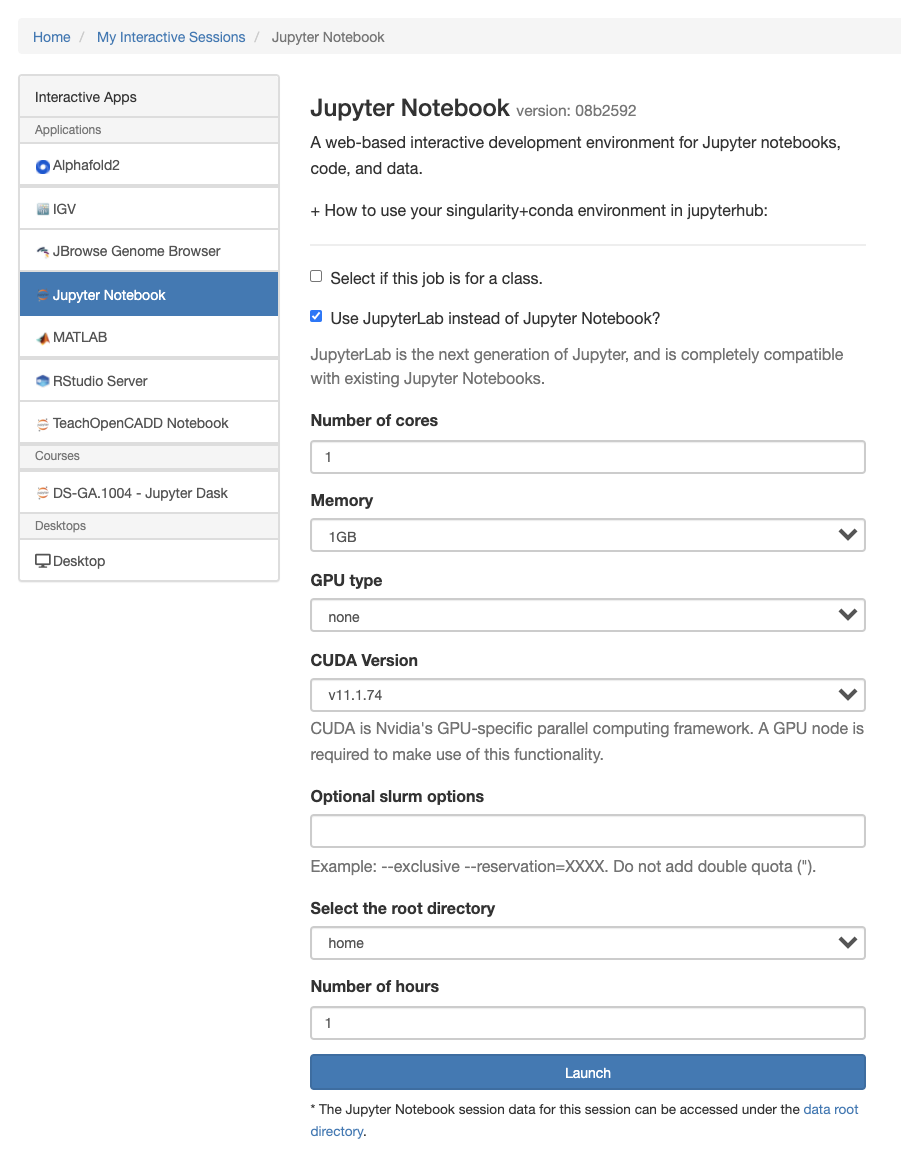
Request resources. Select Jupyter Lab option for launching Jupyter Lab Session (Recommended).
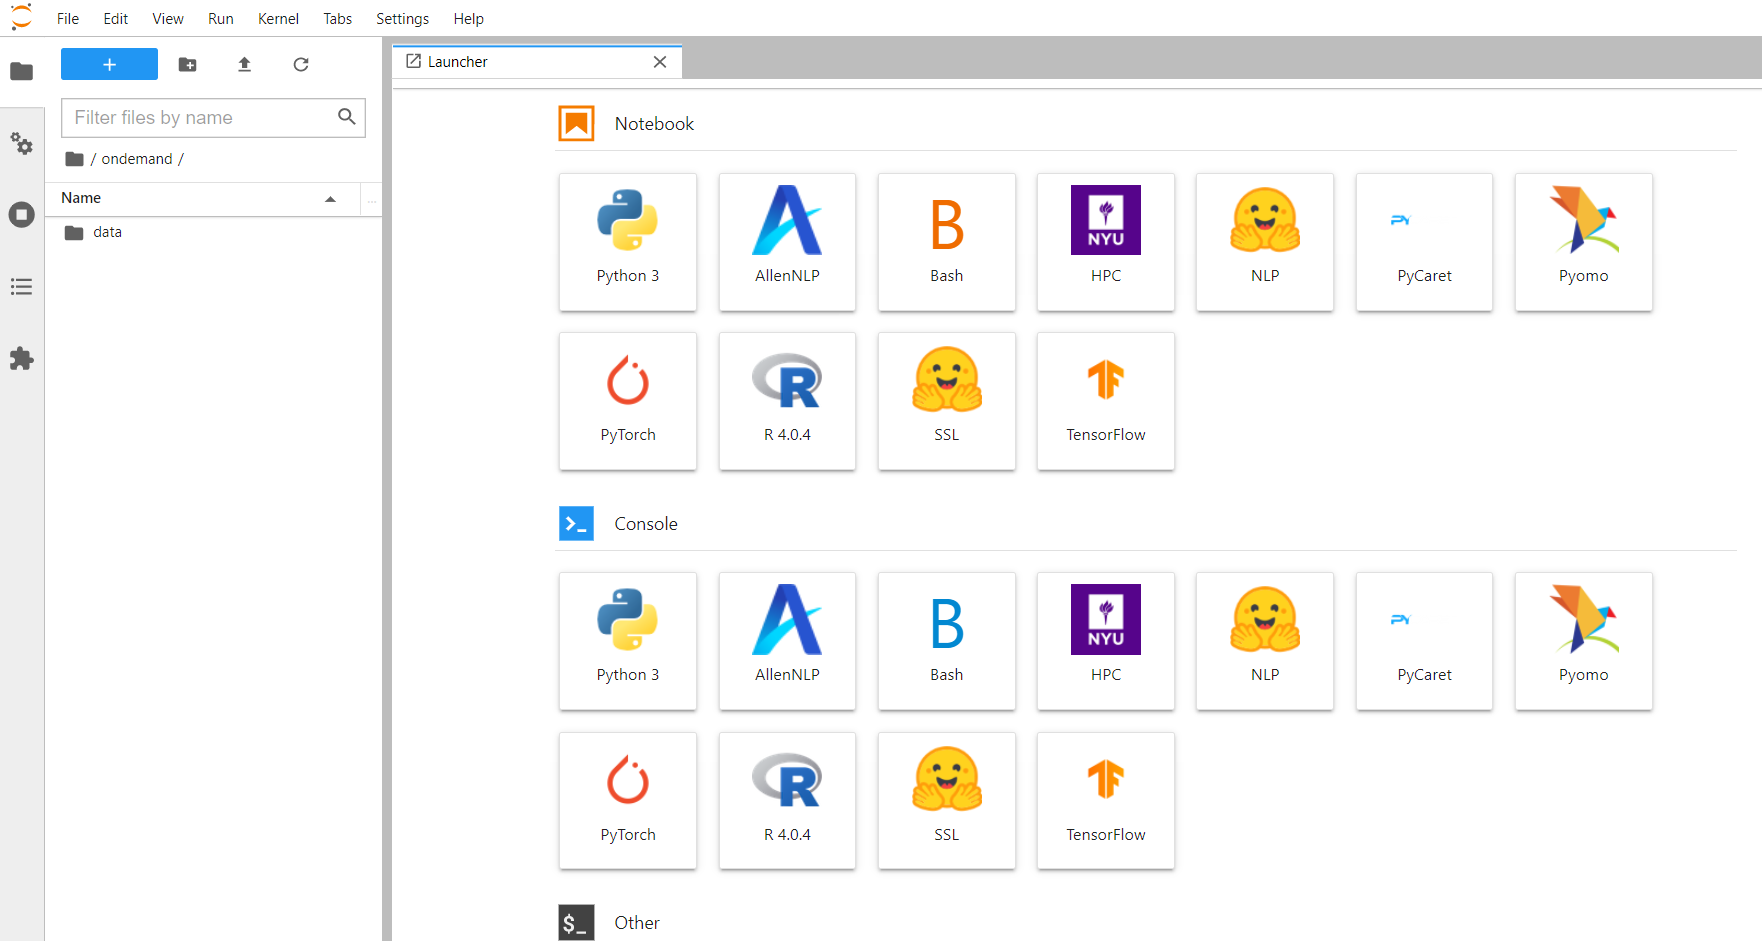
Select Kernel
Once configured and launched, kernels can be selected in the “New” dropdown or within the notebook under the kernel menu. Please note that your notebook view may look slightly different depending on available directories and environments, as well as if you choose the lab or traditional notebook view.